How to Draw a Spider in 7 Easy Steps
Want to learn how to draw an anatomically correct spider? You’re in the right place! Our quick step-by-step guide can help you bring your very own spider drawing to life with just a few tools – we’ve even thrown in some exciting facts, too.
What is a spider? 4 quick-fire facts
While you might see some of them in the corners of your house, you might not really know much more about spiders. We’re here to change that with our quick fun facts!
Spiders are arachnids
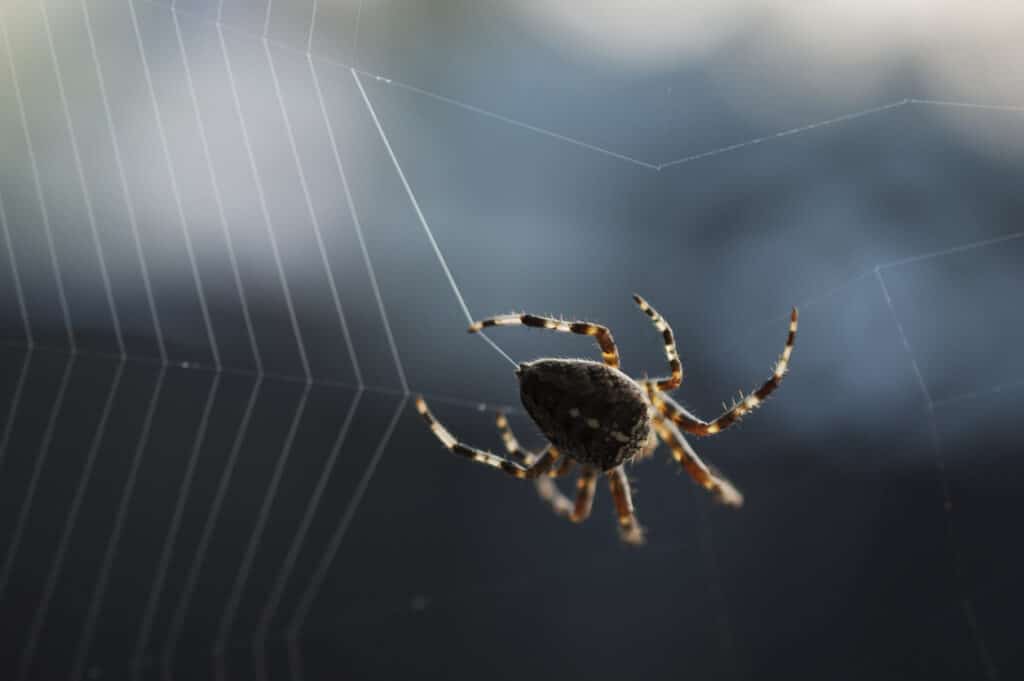
Spiders are classified as arachnids, which puts them in the same category as scorpions, ticks and mites. This classification generally means the animals have a hard body and 8 legs.
There are over 45,000 species of spiders
That’s right – there are tens of thousands of types of spiders, meaning they come in all shapes, sizes and colours. From the Amazonian-native goliath bird-eating tarantula to the bright blue gooty ornamental tarantula, each one is unique in its own right. They’re also found all over the world, with some being much more common than others. To put you at ease, only a tiny percentage of these are known to be venomous or harmful to humans in any way.
Spiders have 8 legs and up to 8 eyes
It might be common knowledge that spiders have 8 long legs, but did you know they can also have up to 12 eyes, depending on the species? Their eyes always come in pairs, and often have a dominant central pair. The others are usually much smaller and harder to spot, but they help spiders gain a wider field of vision to look out for danger or prey.
Spiders make webs

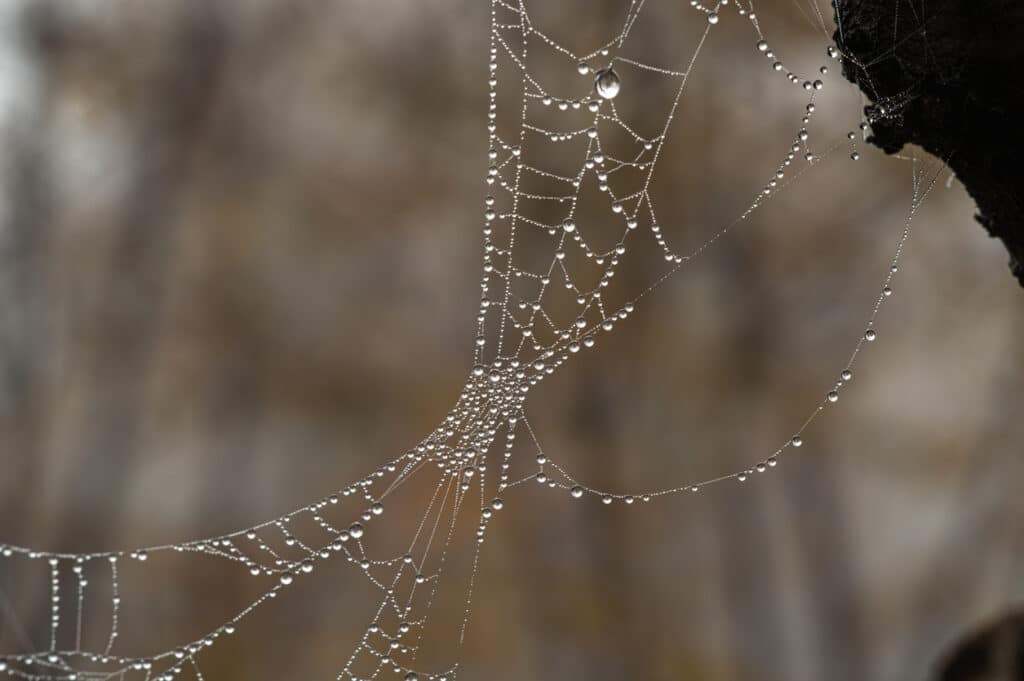
Spiders use spinnerets at the back of their abdomens to weave silky webs. But what do they do? Most spiders use their webs to trap unsuspecting prey, so they have less work to do when it comes to catching their next meal.
How to draw a spider
What will I need?
You won’t need much – apart from some creativity and the following basic tools:
- Paper
- Pencil/pen
- Coloured pens/pencils
- Rubber
Step 1: Draw two overlapping ovals for the spider’s body. The larger of the two should be at the top and the smaller at the bottom. The top oval is the abdomen, and the bottom is the cephalothorax.
Step 2: To draw the legs, draw curving lines starting at the top of the abdomen until you have 4 legs on the left side.
Step 3: Mirror step 2 on the right side of the body, with the legs pointing outwards again to give you a total of 8 legs.
Step 4: Add small curves at the top of the larger oval for the spinnerets. These help spiders weave their silk webs!
Step 5: Add smaller leg-like structures pointing outwards from the smaller oval. These are called pedipalps, and they usually help spiders sense nearby objects or prey.
Step 6: Now it’s time to colour in your spider! With so many different spiders, they can come in all different colours, so you can choose your favourite or try to recreate the colourings of a specific species. We’ve gone for the colour of a common spider, which is usually a deep red-brown.
Step 7: The final step is to add the eyes – spiders can have up to 12 eyes, so you can choose how many to add – as long as they come in pairs!
We hope you’ve enjoyed this step-by-step walkthrough of how to draw a spider. Don’t forget to share your drawing with us on social media using #BluePlanetAquarium! And to come along and see our range of critters and creatures, book your tickets today.


